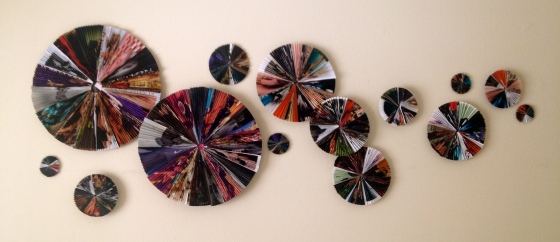
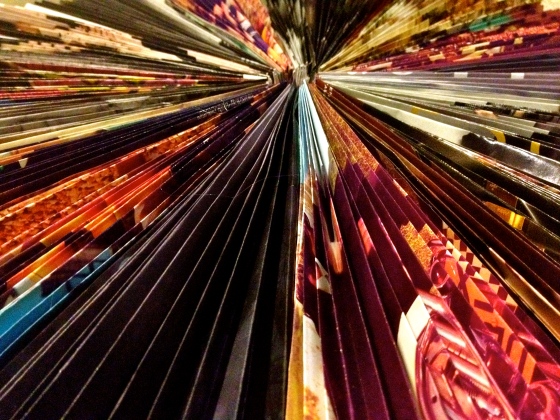
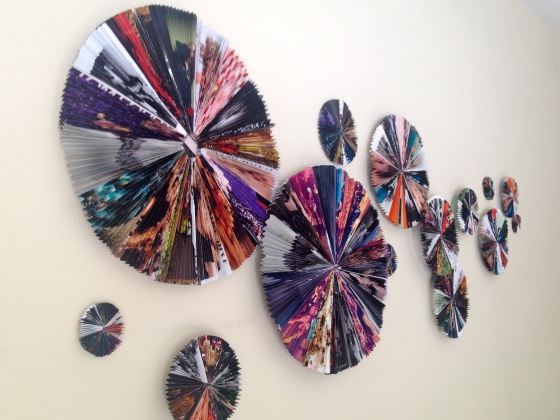
This idea was actually spawned from a shopping trip to J.Crew. I took a picture of the art that they had displayed in their front window[picture below], and for months it fell out of my mind. For almost a year [sadly], I have been looking for something to display on a blank wall. I finally decided to take this into my own hands and make something. After looking through my phone for some inspiration, I stumbled upon the picture I had taken months beforehand, and I know that’s what I wanted to do. This turned out to be a really nice piece that brightens up the space and it only cost me $8 to make! Here’s what I did:
Supplies: 1. A hot glue gun & glue 2. An old magazine or book 3. A pair of scissors 4. Styrofoam discs 5. A hard surface 6. A lot of patience. This was super easy for me because I already had all of these supplies – I only had to buy a few more of the discs.
Steps:
- Read the magazine.
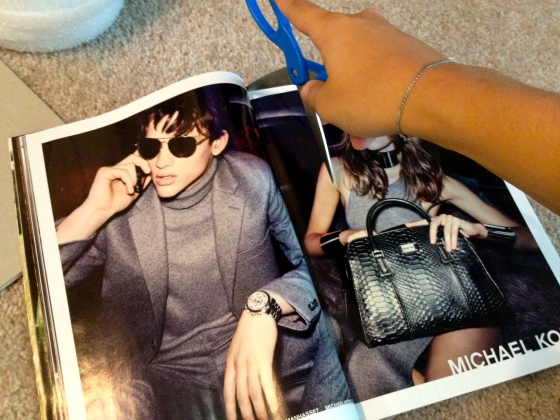
- Go through the pages and rip out pages with the color scheme you are looking for.
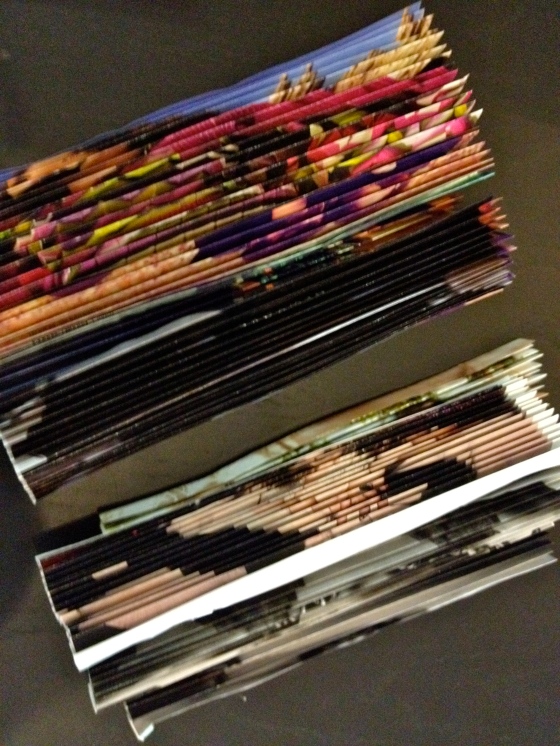
- Fold the paper back and forth to form a fan – I made my folds around a centimeter in width.
- Continue step 3 for a long time!
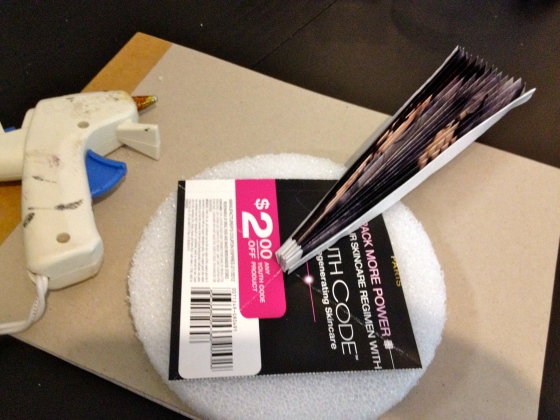
- Glue down a thick piece of paper to the styrofoam disc to cover the hole; mark the middle.
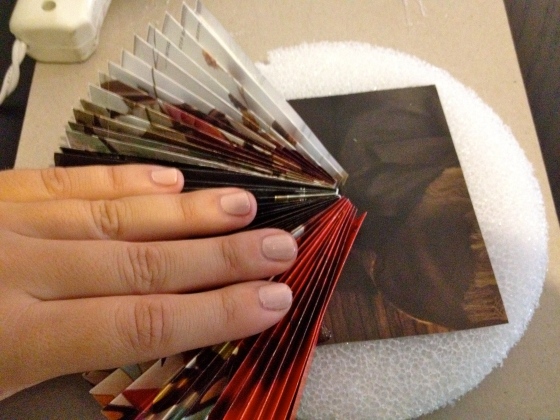
- Pinch one end of one of a fan and place hot glue on the pinched side. Continue to place glue 1/3 of the way up the fan.
- Quickly place the fan onto the disc.
- Continue to do this until the fans form a circle.
- Make as many or as few that is desired for your space. I made five or six sizes by cutting the pages in halves, thirds, etc.
- Lay out on the floor until you find the formation you are looking for.
- Nail it to the wall.
[This is the window display in J.crew that eventually inspired this project]






So awesome. I kind of want to make them for this cold, masculine hotel room I’m living in…
I love them! Great job at recreating them 🙂
Thanks for liking my post about Wet Markets and I enjoyed this idea!! Thanks for sharing.
Regards, Roz
http://www.rozw.wordpress.com
http://www.pinterest.com/rozweitzman
Very cool!
I am going to try to copy your art pieces. Stunning work. I like yours better than the J. Crew ones!!!
Those are really beautiful! 🙂
Pingback: iVillage, DIY Wall Art | Meet Me In Paradise
Definitely want to try this to brighten up a hall wall.